Mom Life
Parenting
Wellness
Product Guides
Non-Toxic Living
Looking for something?
Skip to primary navigation
Skip to main content
Skip to footer
About
Categories
Blog
Shop
Privacy Policy
Motherhood Sprouting
A place where mothers can grow
Home
Categories
Shop
Blog
About
Non-Toxic Living
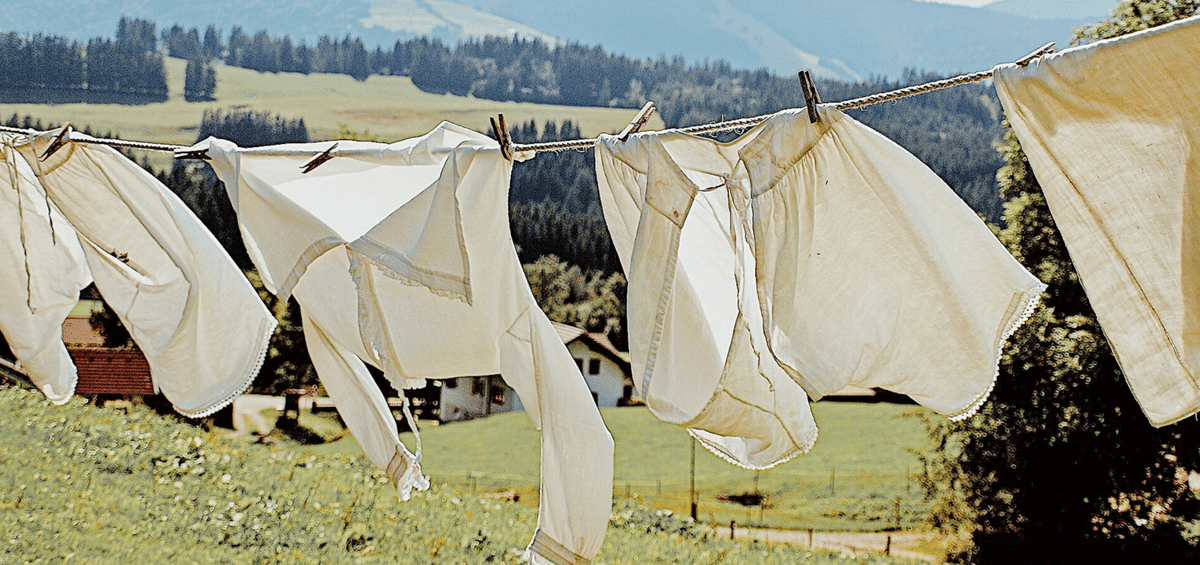
How to Make the Switch to a Non-Toxic Laundry Routine
The Best Non-Toxic Toys for Babies & Toddlers
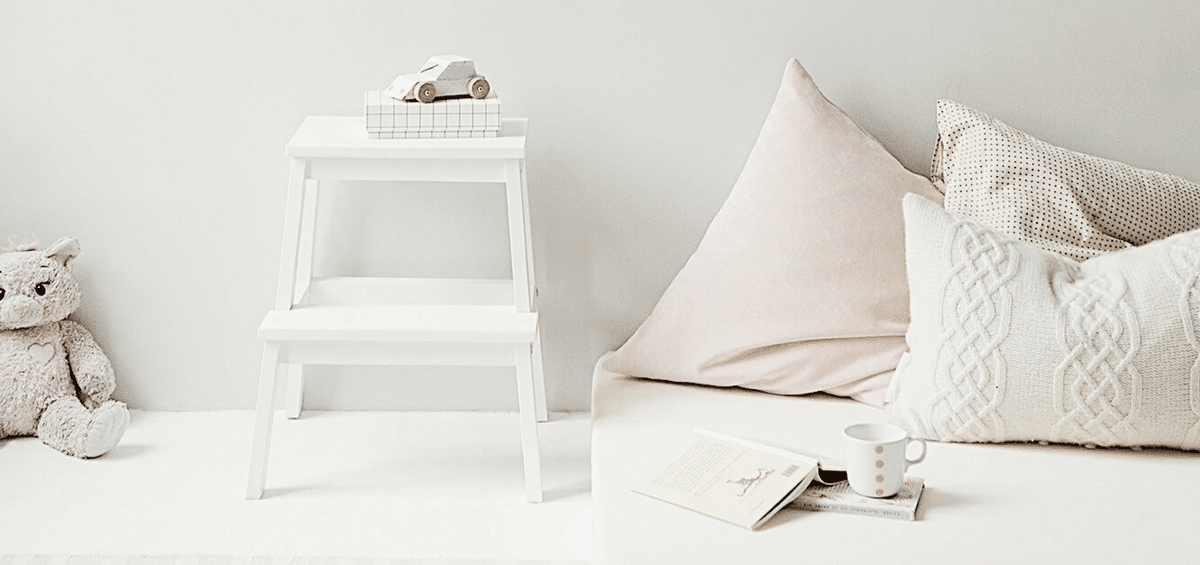
How to Create an Eco-Friendly Non-Toxic Nursery
8 Easy Things You Can Do Every Day to Help the Earth
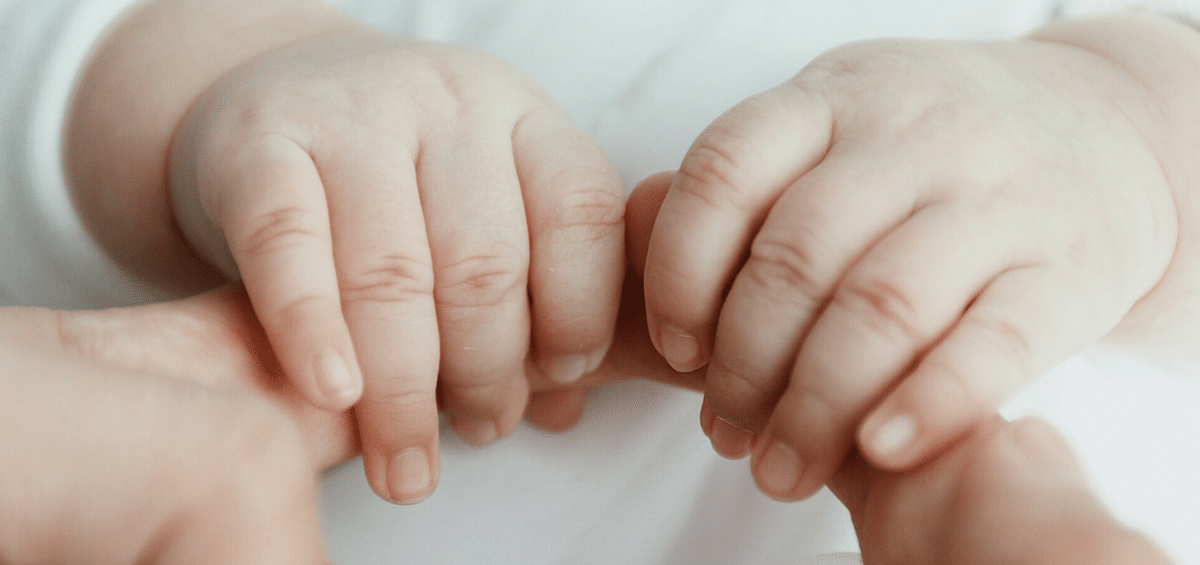
The Best Natural Diapering Products
My 3 Favorite Natural Teething Remedies
Page
1
Page
2
Next
→
We use cookies to ensure that we give you the best experience on our website. If you continue to use this site we will assume that you are happy with it.
Ok